Over the glorious sunny past few days I have actually managed to make a few things - firstly a jewellery frame.
I had seen a similar idea on pinterest and had thought about making one myself, but I hadn't got round to it. Then after I had made some Alice in Wonderland themed drawer handles for my sister's mini set of drawers (we couldn't use them on the drawers as she had just brought and fitted some handles) we settled on creating this jewellery holder.
Items: handles (you could always upcycle old ones you have or find)
a photo frame
fabric for backing
ribbons/lace etc
glue
staple gun
 |
| Start with a photo frame, the drawer knobs I had already created so these were simply glued on in position to hang jewellery from. You could make you own knobs too, or if you come across a handle or hook (check charity shops & car boots) they can look decorative too. |
 |
| I made the handles by covering them with old book pages - I went with an old copy of Alice in Wonderland. I then painted round the bottoms of the handles to cover areas that are harder to cover in paper. They were all coated in pva glue to give it a protective cover. |
 |
| Choose a fabric for your centre piece - we went with a red polka dot fabric brought from Guthrie & Ghani. Measure the back of your frame against the fabric, cut to size ensuring you can fold over onto the back of the frame. |
 |
| Measure the fabric to ensure you don't have too much or too little of an overlap. |
 |
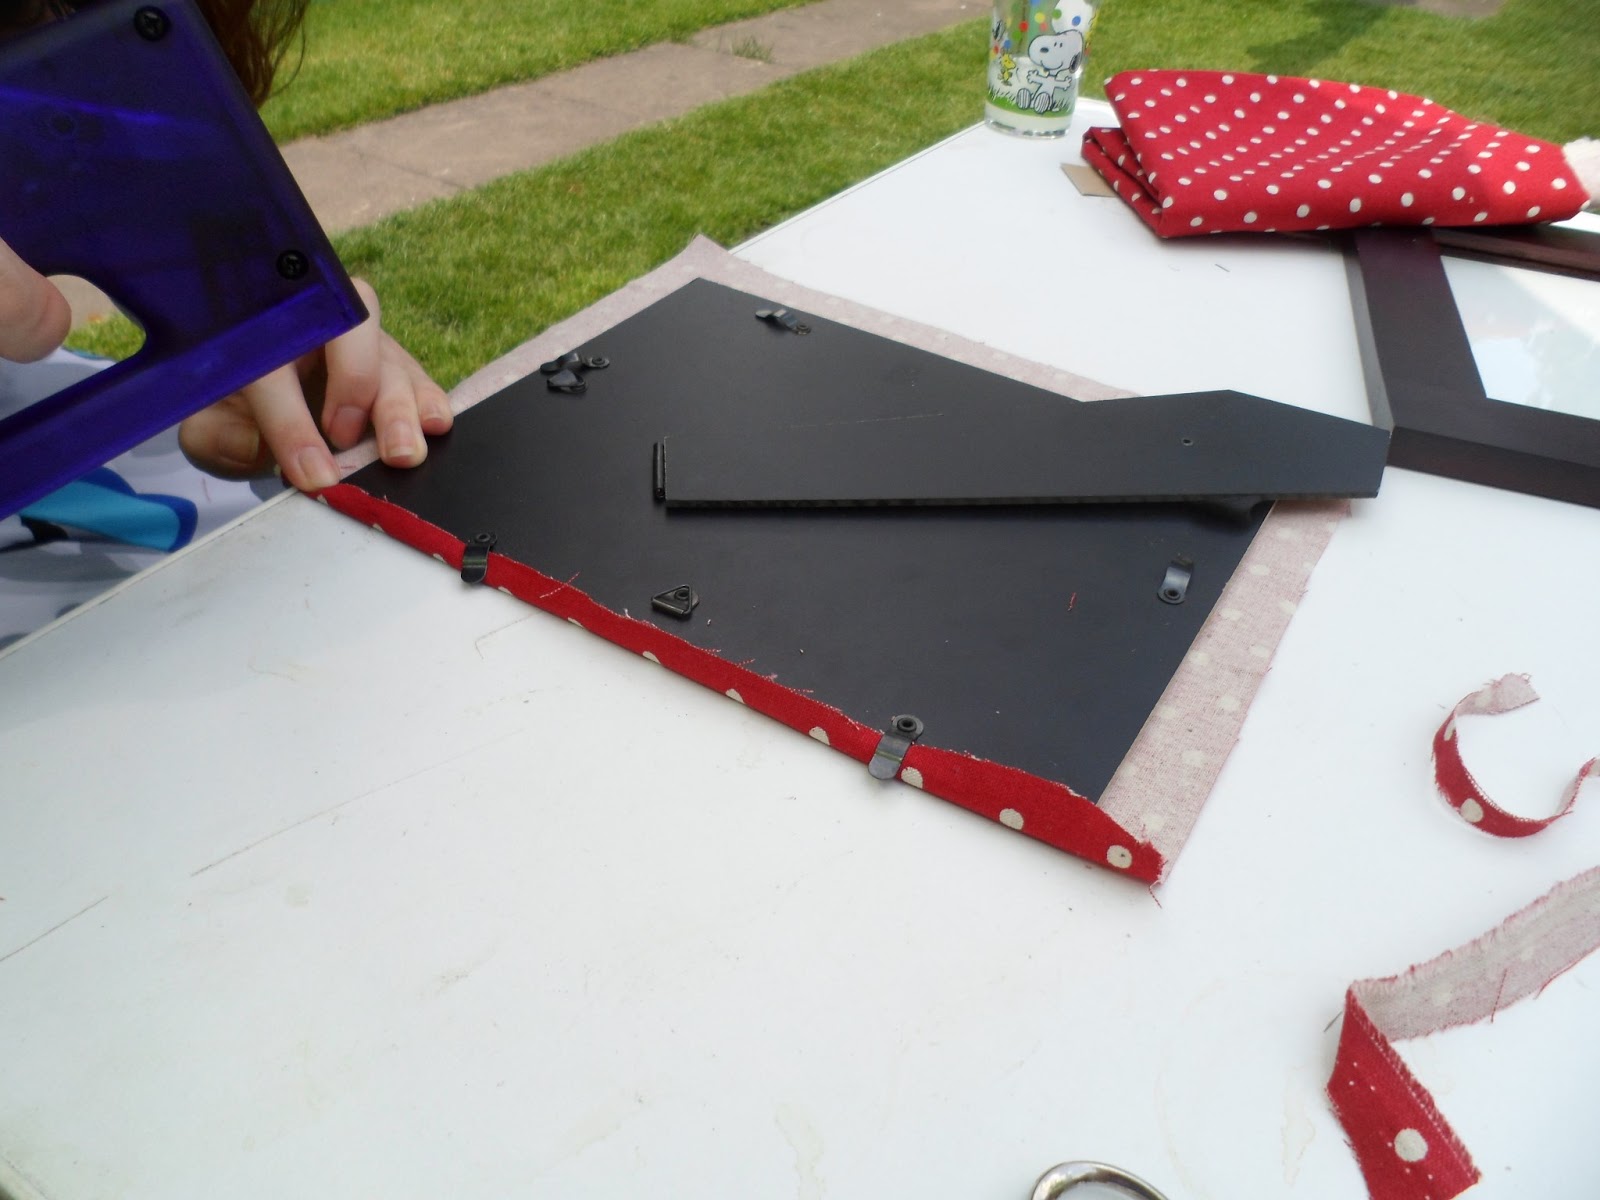
| Cut to desired width - with this frame there were hooks that spin round to clip the back into the frame so I had to ensure they would move over the fabric. |
 |
| Use a staple gun to fix the fabric in place, where you can try not to let the staple go all the way through to the fabric, but fold the edges down. As you move round the frame this becomes harder, but remember you can always hide the staples if they are visible on the other side with various embellishments at the end. |
 |
| Keep checking & measuring each side as you go round. |
 |
| Once complete fit the frame back together to ensure it all looks and fits ok. |
 |
| Choose ribbons, laces & trimmings to decorate your frame. These will hold light jewellery such as earrings which can be hooked over the top edge of the trimming. Play around with it first so you know how many trimmings you want and in what order. |
 |
| The trimmings are all glued to the back of the frame, again ensure this won't affect how you put the frame together. If you find the trimmings are not quite strong enough to hold jewellery items that's ok, it will always make a lovely decorative piece & you have handles / hooks around the frame for other items. |
 |
| The back of the frame isn't going to be seen, but if you were wanting to tidy it up you could cover the whole piece with something like felt to hide the ends - this may mean you will have to completely seal your frame. Once each trimming has been secured you can tidy the corners of the fabric by carefully folding inwards and gluing in place. |
 |
| Volia! Finished frame - being picky I think my lace is a little wonky, but overall I'm happy and it'll be great for hanging necklaces & bracelets & earrings, as well as being a decorative piece. |
If anyone has a go at this or has done something similar I'd love to hear from you!!
 |
| The frame in use! Sorry for picture quality - my phone's not great for photos. |


No comments:
Post a Comment